Every clinician knows the pattern. You restore an implant, cement a bridge, or bond an appliance, you stress the importance of cleaning around it, the patient nods — and at the next recall the same inflamed margins and the same biofilm traps are waiting for you.
The problem is almost never that patients don't believe you. It's the gap between knowing and doing, and it's widest exactly where the stakes are highest: around implants, bridges, braces, retainer wires and embrasures, where a standard floss simply can't reach.
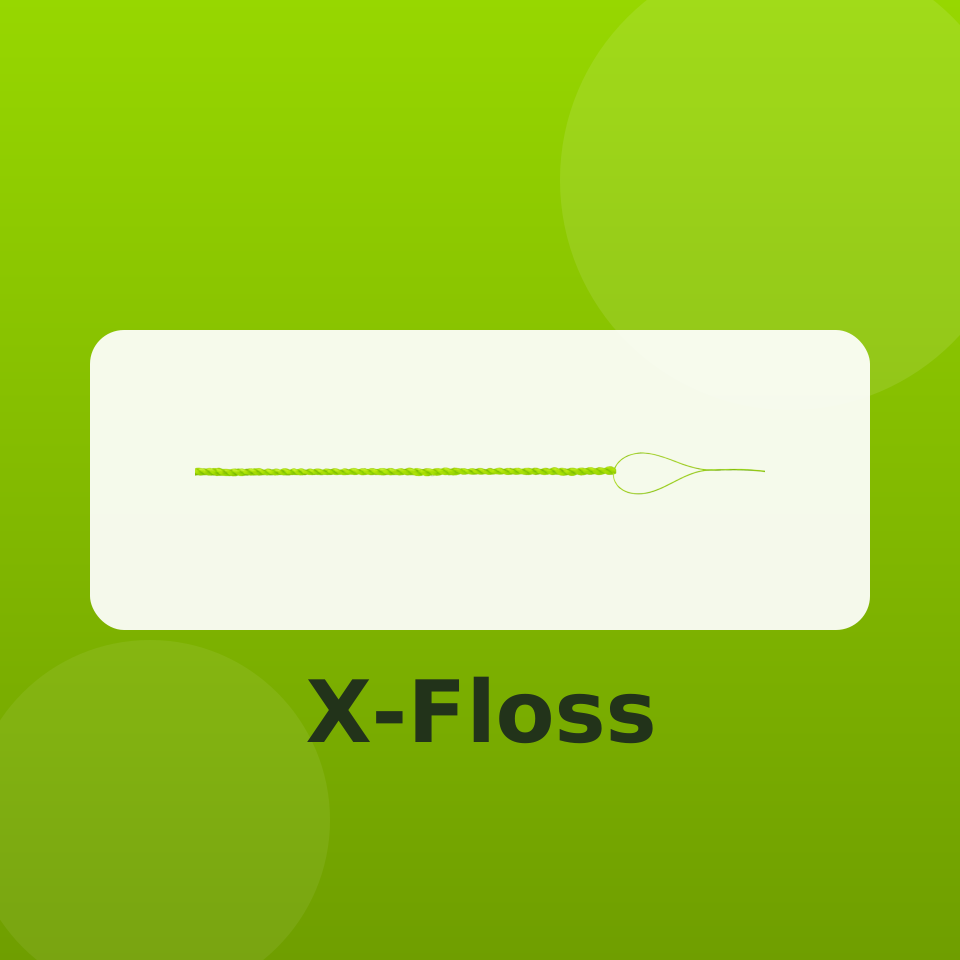
That's the gap X-Floss is built to close. With a firm built-in threader and a bulky, expandable floss, it gets cleaning where ordinary floss can't go — and closing the compliance gap is less about repeating the message louder than about giving patients a tool that works and the technique to use it.
Here's how to use the chairside moment to turn X-Floss into a habit your patients keep.
Why Patients Stop Flossing (And How to Pre-empt It)
When patients abandon flossing, they almost always cite one of four reasons. Each has a clinical answer, and addressing them before the patient leaves the chair is the biggest-impact moment you can make.
The most important objection: bleeding
Bleeding is a sign of existing inflammation — not injury.
Patients interpret bleeding gums as a sign they're causing damage, so they stop — which is exactly the wrong response. Reframe it directly: in most cases it resolves within one to two weeks of consistent daily cleaning as the gingival tissue heals.
Tell patients to expect it, and to read it as the floss reaching the inflamed sites that need attention most. When the bleeding stops, that's their feedback that it's working.
Demonstrate, Don't Describe
Verbal instructions are forgotten before the patient reaches the car park. A thirty-second chairside demonstration — ideally in their own mouth — outperforms any take-home leaflet. Walk them through the threading while they watch, then hand them the floss and have them clean one or two sites themselves so you can correct in real time.
Tactile rehearsal is what makes it stick, and threading under a bridge or around an implant is far less intimidating once a patient has done it once with you watching. It also lets you see whether the patient can actually do what you're asking.
The technique to demonstrate
Lead with the threader
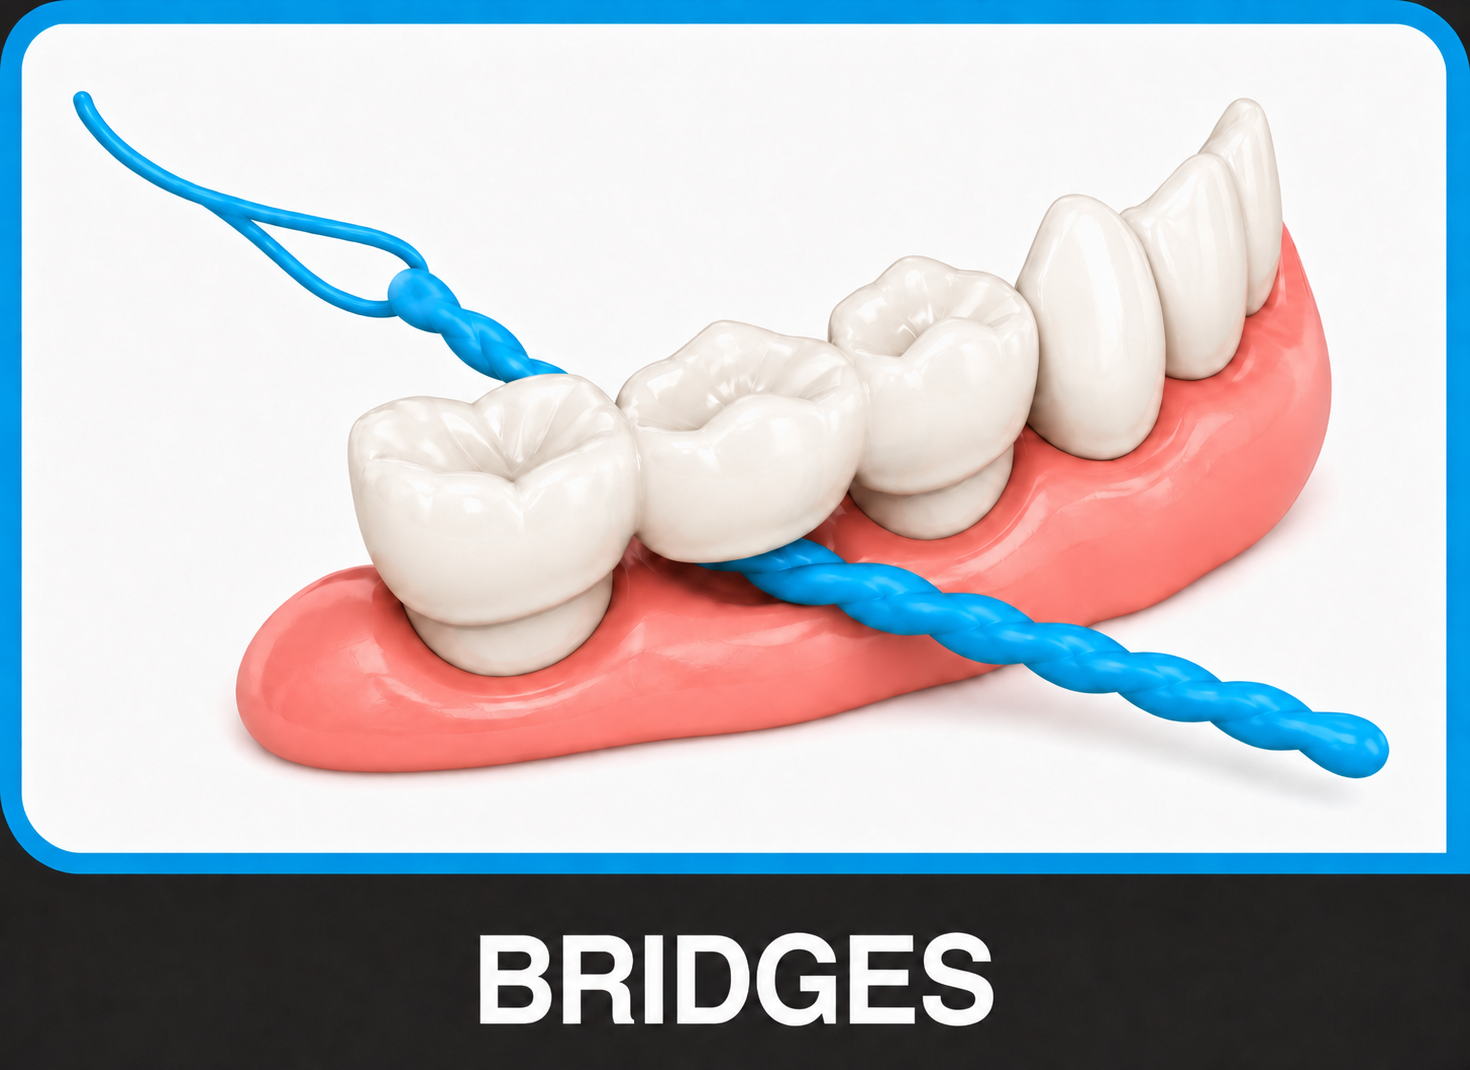
The firm nylon threader is the working end — stiff enough that it won't buckle as you push it into place. Hold it like the tip of a needle and guide it where ordinary floss can't go: under the pontic of a bridge, between an implant and the adjacent tooth at the gumline, beneath an orthodontic archwire, or into a wide periodontal embrasure.
Pass it through, then pull the floss in behind it
Once the threader is through the space, draw it forward until the bulky floss section sits in the area you want to clean — under the bridge, around the implant abutment, or against the appliance.
Let the bulky floss do the work
Move it gently back and forth along the surface. The thick, wooly texture expands to fill the space and sweeps the broad surfaces and concavities that thin string floss skips over — the underside of a pontic, the emergence profile of an implant, the curve behind a bracket.
One site at a time
Withdraw, re-thread, and move to the next implant, pontic or space.
The whole routine takes most patients only a couple of minutes once the threading feels familiar — a number worth sharing, because it defeats the “it's too fiddly” objection far better than a vague reassurance.
X-Floss or X-Floss Lite: Matching the Product to the Mouth
One of the reasons patients give up is that they've been handed the wrong floss for their anatomy. Send a patient with tight contacts away with a floss too bulky to insert, and they'll conclude that cleaning the area simply isn't possible.
Both X-Floss products solve the access problem with a built-in firm nylon threader; the choice between them comes down to how much space you're working with — and it's a recommendation only a clinician is positioned to make.

For wider spaces: bridges, wide periodontal embrasures, braces, and single posterior implants. Its thick, bulky, flexible floss expands to sweep broad surfaces and concavities, while the firm threader — attached to the floss — won't buckle, so there's no fiddling with a separate aid.
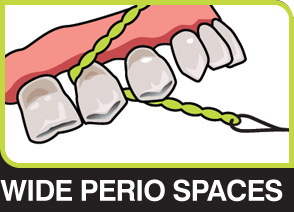
Wide Perio Spaces
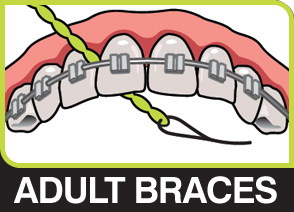
Braces
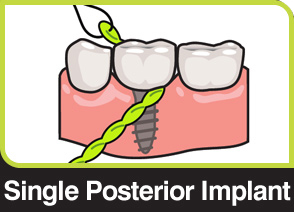
Posterior Implant

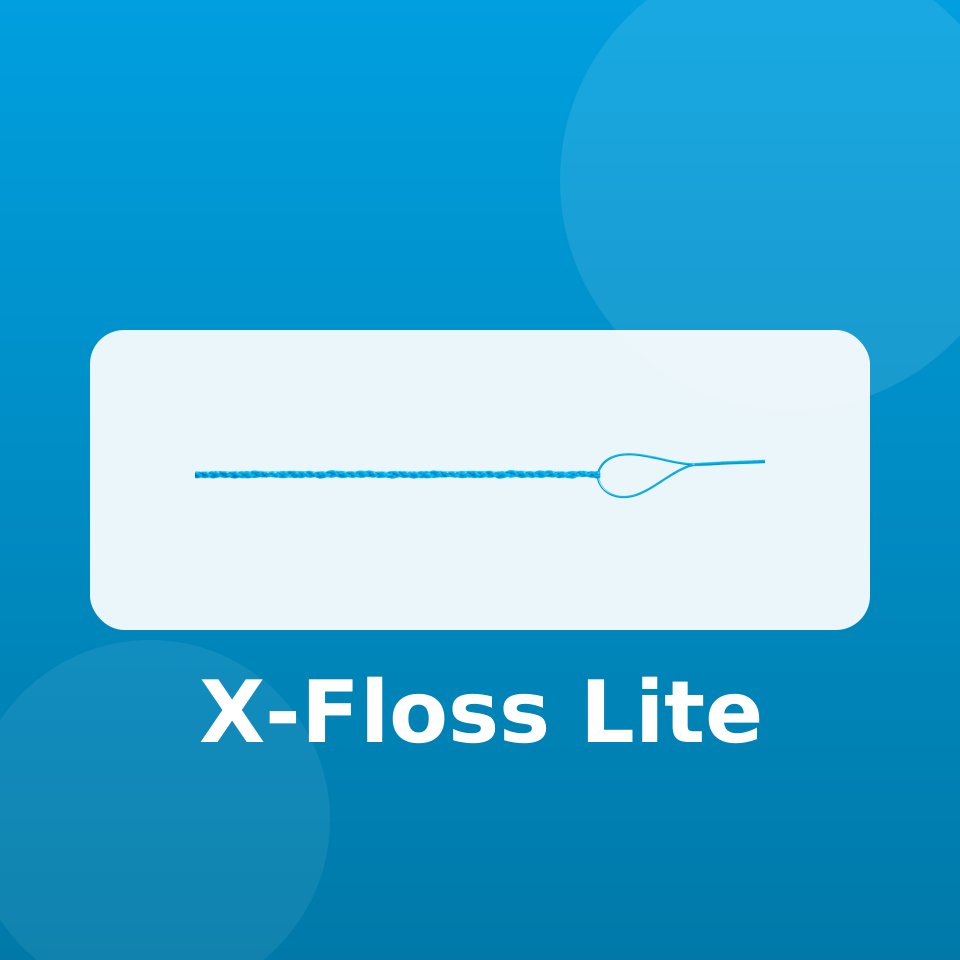
For tighter spaces: tighter implant contacts, retainer wires, braces and narrower bridges. Thicker than ordinary floss but thinner than X-Floss, it inserts into snug spaces more easily and flattens out under tension to clean effectively once through — with the same firm threader that won't buckle.
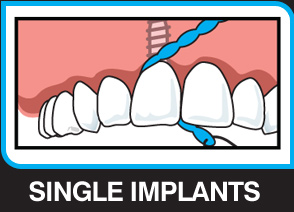
Single Implants
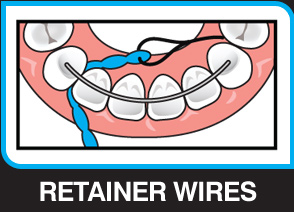
Retainer Wires
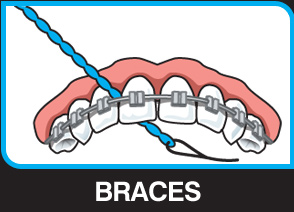
Braces
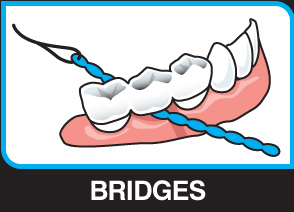
Narrow Bridges
“Use the blue one — it's thinner, so it'll slip past that tight contact on your implant.” A patient told this has been given permission to succeed.
The practical message to clinicians: make the floss choice for the patient rather than leaving it to the supermarket aisle.
Motivation Is Built on Immediate Rewards, Not Distant Ones
This is the part most oral-health education gets wrong. We sell flossing on its long-term payoff — preventing periodontal disease, avoiding tooth loss decades from now. But human habit formation runs on immediate feedback, not distant consequences.
So anchor the reward in the present. Point patients toward what they can notice the same day: the fresher feeling in the mouth, the absence of trapped food, the clean sensation along the gumline. For many patients, framing flossing around how their mouth feels tonight is more durable than any lecture on attachment loss.
Two more behavioural levers worth using chairside:
Pair It With an Existing Habit
Telling someone to “floss daily” creates a free-floating intention that's easy to drop. Telling them to floss immediately before they brush at night attaches the new behaviour to an anchor that already exists.
Set a Floor, Not a Ceiling
Perfectionism kills compliance — the patient who misses two days decides they've failed and quits. Give them a realistic minimum: once a day, every day, even if it's rushed.